Normally I provide a canned equivalent for the beans in my recipes. I will not do that for this recipe. First, because I have never used canned lentils so I don’t know what the equivalent is. Also, lentils don’t need to be soaked and have a relatively quick cooking time. This soup benefits from having all the ingredients simmered together for 30 – 60 minutes.
Lentil Soup
½ lb. of dried lentils
2-3 carrots, peeled and diced
1 large or 2 small celery stalks, diced
½ medium onion, diced
1 quart vegetable stock (I like Kitchen Basics Brand)
2 cups water
salt and pepper to taste
dried or fresh herbs of choice: thyme or parsley would work
Put all ingredients in a pot and simmer until lentils and veggies are cooked through. This can take anywhere from 30 minutes to 1 hour. If using fresh parsley, reserve until the soup is cooked through and add at the end. All other herbs can be added at the beginning.
Bonus Recipe – Split Pea Soup
Substitute green or yellow split peas for the lentils above and follow the recipe exactly. Leave as is for a chunky version or puree for a smoother consistency.
Serving Suggestion
I love to add rice, especially brown rice, to my lentil soup. It makes it heartier and gives it extra texture. You can mix it in or serve it on the side.
Leftover Tip
Be on the lookout for my Lentil Stuffed Cabbage recipe in a few weeks.
½ lb. of dried black beans (soaked and cooked)
or 2 cans of black beans, drained and rinsed
1 medium onion, diced
1 bell pepper, diced
1 chili, diced (I like serrano, but jalapeno would definitely work)
1 clove garlic, diced
15 oz. can of tomato sauce
½ can water
Cooked Rice (start with 2 cups, uncooked and then cook any way you like)
Salt and pepper to taste
1 handful of cilantro, rinsed and chopped
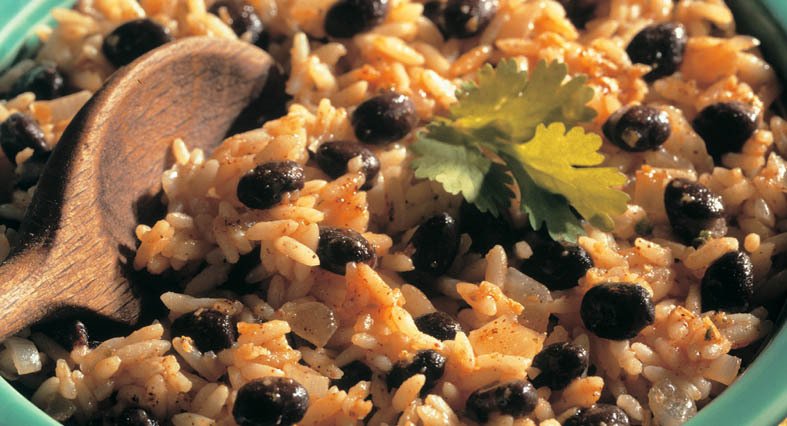
Saute onion and pepper until softened, then add chili and garlic and cook for another minute. Add tomato sauce and then ½ can of water. Simmer for a few minutes and then add beans and rice. Stir until combined and heated through. Season as you go with salt and pepper. Sprinkle with cilantro and serve. Serves 4 as a generous main course and 6 – 8 as a side.
Note: You don’t have to combine the rice and beans in one pot. You can keep them separate and serve them that way. I just really like it this way.
Leftover Tip
This also makes an awesome burrito filling with some salsa or guacamole.
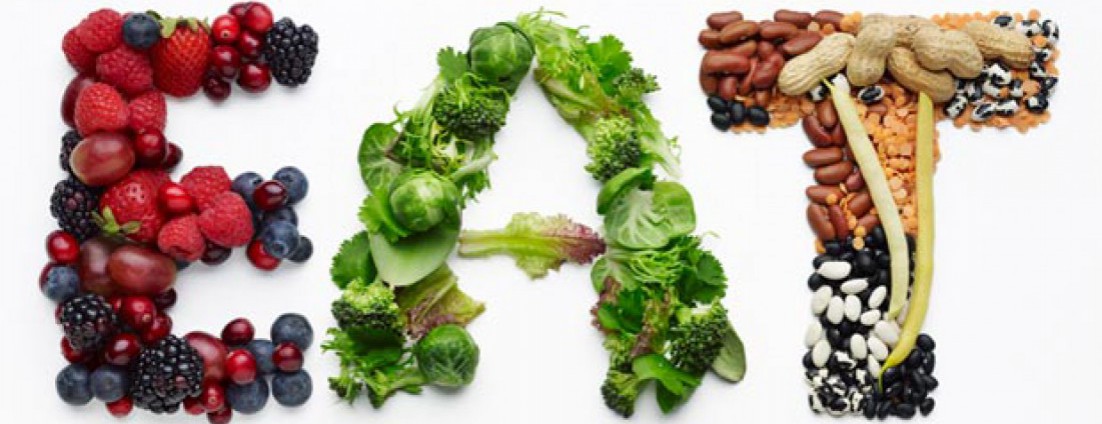
I came across an article today about making a vegan diet more affordable. At first, it seemed odd because I think of vegan diets as being very affordable. Rice and beans are the poster children for veganism. Right? After much consideration, it occurred to me that the sudden popularity of “green juices” and some of the prices that I see at the farmer’s market, can make it difficult to eat well on a budget. Let’s face it, most of us can’t afford micro-greens at $5 per ¼ lb. You’re not fooling anyone. That’s $20 per pound – for lettuce.
This has inspired me to share my first Veganomics series. This week, I will provide you with one recipe every day highlighting beans. Beans are versatile and affordable and delicious.
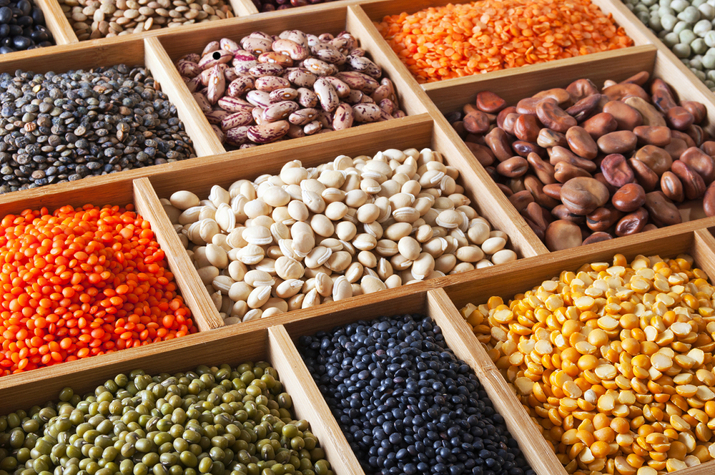
I will also share some thoughts and tips on beans to help you plan and executive these recipes. Here are a few to get you started.
I like to use dried beans. I find that you get more value, but they do take considerably more time and planning. Of course, you are welcome to use canned. They are still very affordable and easy and nutritious.
A one-pound bag of beans works out to roughly four cans of beans. If you are buying in bulk, one cup of beans is roughly ½ pound or the equivalent of two cans.
You should always sort through dried beans and rinse them thoroughly before soaking or cooking.
You don’t have to soak your beans but it will shorten the cooking time dramatically.
You can soak your beans overnight to shorten cooking time. If you are going to soak them for longer than 12 hours, I would swap out the water at least once. Just drain and rinse and cover with fresh water. You can soak them at room temperature for up to 24 hours. You can also soak them in the fridge for up to 2 days if you think you might not get to cook them right away. Just swap out the water about every 12 hours or so.
You can cook an entire bag of beans and then freeze any that you are not using immediately. A good plan is to cook them all and then divide and store in four parts. Consider each part the equivalent of one can of beans.
Normally I wouldn’t share 5 recipes in 1 week, but I want you to see that you can make these recipes all in a week and have delicious, nutritious options for lunch and dinner and never get bored. And if you are cooking for one or two people, you can even freeze portions for the future, which will save you time and money in the long run. I’ll provide leftover tips along the way. At the end of the week, I will provide a shopping list to show you how, by having minimal and affordable ingredients on hand, you can eat really well.
Well, I know that summer has come and gone, and what a beautiful summer it was. In my neck of the woods it remained around 80 degrees most days. I don’t think we ever even got close to 100 degrees. That’s my kind of summer.
Now autumn is here and while I’m eager to start thinking about how to use apples and pumpkin, I’ve got to share my pulled chicken recipe. Even though we associate barbecue with summer, there’s no bad time for barbecue. This is the perfect recipe for football season, potluck parties, and any time you have a large gathering. I substitute the chicken for the more traditional pork. You will need a little more “sauce” at the end for tossing as the absence of fat in the chicken will make it dry out a little faster than pork shoulder.
In keeping with my mission of cooking with “ingredients” I wanted to show you how easy it is to make your own rub and even, in effect, your own barbecue sauce. There’s no reason to buy ready-made products when you probably have most of the ingredients on hand anyway.
Another recommendation I have for those of you who avoid gluten and wheat is to skip the sandwich and serve this over a baked potato, a baked sweet potato, fries of any kind, and even over tortilla chips to make a unique nachos dish. While I like to use fresh ingredients as much as possible, there are some great frozen fries out there both made from potatoes and sweet potatoes. I like the Alexia brand. Just seek out a brand with limited ingredients like only potatoes or potatoes with salt. Avoid any product that has a long list of ingredients or ingredients that you cannot pronounce.
Of course feel free to pile it on your favorite bread with cole slaw and pickles. Don’t mess with success if that’s what makes you happy.
Pulled Chicken
3-4 lbs. Chicken (boneless/skinless breast or thighs or combo)
Rub (recipe below)
Tomato puree (15 oz. can)
Apple cider vinegar – 1/3 cup
Worcestershire sauce – 2 tsp.
Rub:
Coarse Salt – ¼ cup
Cumin – 1-2 tbsp.
Chili Powder – 1-2 tbsp.
Cayenne – pinch or 2 according to taste
Black Pepper – pinch or 2 according to taste
Cinnamon – pinch or 2 according to taste
Agave (or brown sugar)- ¼ cup
Rub the chicken. Put the chicken in a slow cooker or large heavy pot. Cover with tomato puree, apple cider vinegar and worcestershire sauce. Cook on low for at least 3 hours or until chicken shreds easily.
You will have an excess of cooking liquid at the end. I like to reduce it and toss the chicken with it instead of using barbecue sauce, which is the more traditional route. Serve with your favorite barbecue sauce on the side or, to switch things up, serve pineapple salsa.
All measurements are approximate. Adjust according to your taste.
Serving Suggestion: Top your pulled chicken with pineapple salsa.
It only seems right that my first recipe on RealishFood.com should be for a relish of sorts. I’m going to give you the key to making any Latin style dip a winner every time. For as long as I can remember, I have loved Latin food. Having lived my entire life in both the NYC Metro Area and California was probably a major contributor to this outcome. I grew up in a very diverse town, with a large immigrant population that included Columbians, Peruvians, Cubans, Equadorians, Puerto Ricans, etc. You get the picture. In school, I heard just as many people speaking Spanish as English. Then I moved to San Francisco, where I became well versed in Mexican Cuisine – you know the kind that was actually cooked by Mexicans as it is cooked in Mexico, not as cooked by a teenage line cook in a chain restaurant according to the corporate manual written by gringos. I almost always have rice and beans in the fridge for a quick meal. I have plantains on hand as I write this. I also use cilantro more than all other fresh herbs combined. That wouldn’t seem like a big deal, except that I’m a Gringa. I take no offense to that label. I embrace it.
Below, I’m going to give you my recipe for Gringa Mix and a few salsas and dips that you can build from it. Make a big batch and you can knock out three dips in not much more time than it would normally take to make one.
I want to caution you that the measurements I provide are approximate. I’m not a big fan of measuring. What I want you to learn is the technique and the flavor profile. In this case the flavor profile is basically chiles, citrus, cilantro. Then you can adjust as you go. Add garlic if you like. Cut the chiles if you can’t take the heat. If you don’t like pineapple, use mango. Jump in and give it a try.
Warning: If you accomplish this method, you will be responsible for making dips for all future parties to which you are invited. Or you could just send your friends to RealishFood.com and they can learn for themselves.
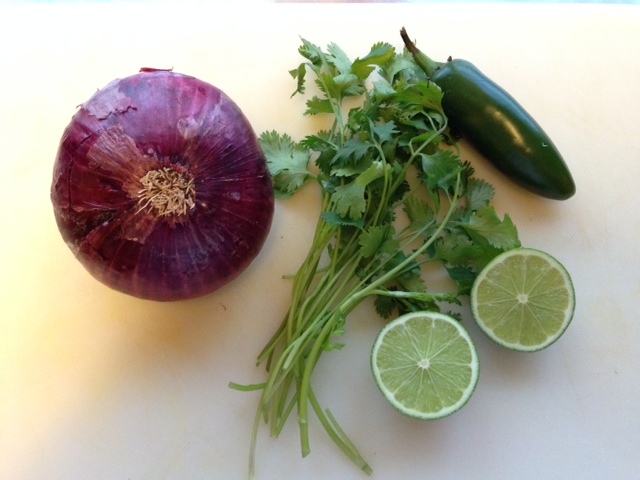
Gringa Mix
Red onion – 1 quarter medium sized
Cilantro – ¼ to ½ bunch
Serrano or chili of your choice – diced
Lime – 1 or 2 or more depending on how juicy they are
By hand: Finely dice first 4 ingredients. Add lime juice to taste. Combine in a bowl. Use as a base for salsas, pico de gallo, quacamole, etc.
Food processor method: Peel and quarter onion. Remove stems and halve chiles and remove seeds and ribs for a milder heat. Put all ingredients into a food processor or blender and process until all ingredients are combined.
Use as a base for salsa, pico de gallo, quacamole, etc.
These are approximate measurements. You should adjust ingredients according to taste.
This recipe is good for 1 – 2 avocados, ¼ pineapple, 2 or 3 small tomatoes, or 1-14.5 oz. can of diced tomatoes.
Start with this…
Turn it into this..
Tomato Salsa
1 -14.5 oz. can of diced tomatoes
Gringa Mix – to taste
Salt – to taste
Strain tomatoes and reserve the juice. Puree all ingredients in a food processor or blender. Add salt to taste. Add reserved liquid as needed. Adjust ingredients to taste.
Tomato Pico de Gallo
2-3 small tomatoes – diced
Gringa Mix – to taste
Salt – to taste
Toss all ingredients together in a bowl. Adjust ingredients to taste.
Add tomatoes to get this.
Pineapple Pico de Gallo
¼ pineapple diced
Gringa Mix – to taste
Salt – to taste
Toss all ingredients together in a bowl. Adjust ingredients to taste.
Alternate – Pineapple Salsa – toss all ingredients in a food processor or blender for a smoother consistency.
Add chopped pineapple to get this.
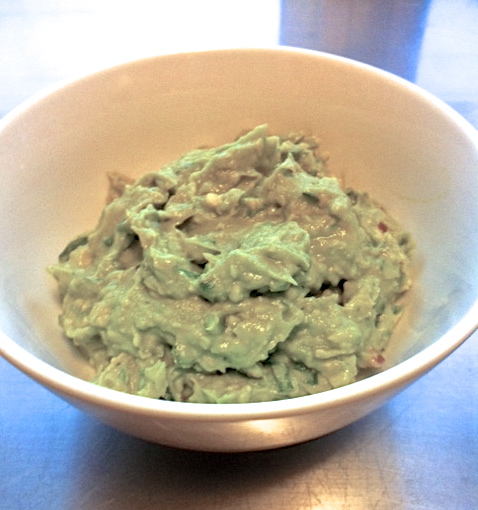
Guacamole
1-2 ripe avocadoes
Gringa Mix – to taste
Salt – to taste
Hot sauce – to taste
Mash up avocado. Add ingredients and stir to combine. Adjust ingredients to taste
Why Realish Food? Do I want you to eat food that’s only real-ish? No. That’s not it. I want you to relish real food. Get it?
Real + Relish = Realish.
Relish has a double meaning.
Rel-ish
noun: something savory or appetizing added to a meal, as pickles or olives
verb: to make pleasing to the taste
My mission is to get people to eat REAL food. I want to show you how to buy ingredients and make beautiful, real food. And I want you to (you guessed it) RELISH it. I’ll even teach you how to make a relish or two along the way.
I am excited to start this blog now. Spring has sprung and the farmer’s markets will be overflowing with an abundance of local, fresh, seasonal ingredients readily available to you.
I’m not a nutritionist. I’m not an expert in organic or sustainable food. I’m not waging war on the packaged food industry. I’m just someone who wants to eat well and feed my family the best food that I can find.
Along the way, I’ll introduce new ingredients and I’ll show you how to use them. I’ll share some of my favorite recipes. And eventually I’ll tell you the reasons why I cook heart-healthy, diabetic-friendly, allergy-free, and gluten-free options; sometimes all at once. And I’ll show you how delicious that can be. I’ll even show you vegetarian and vegan options that will delight the carnivores in your life. Okay, it might not delight them but it will make them complain less when you omit the meat from their meals.